Linux

VirtualBox 동적 할당 디스크 사이즈 줄이기(내보내기)

VirtualBox 동적 할당 디스크 사이즈 줄이기(내보내기)

Shrink dynamically allocated VirtualBox Disk Image(VDI)

Motivation

업무에 VirtualBox을 자주 활용한다.

개발 환경등을 시스템에 설치 하기 힘들때 VirtualBox를 사용하여 개발환경을 구축 하거나 결과물을 설치 하여 테스트용으로 배포한다.

여러대의 머신이 필요하지만 AWS나 GCP를 사용하기 힘들때 유용한 대안이 바로 VirtualBox이다.

Virtualbox 가상머신의 디스크를 동적 할당 디스크로 생성 하였을 경우 경우 환경 설치 후 불필요한 파일을 삭제 하더라도 디스크의 크기가 줄어들지 않기 때문에 내보내기 한 이미지도 같이 커진다.

혼자만 사용할 때는 디스크 용량만 차지할 뿐 아무 문제가 없지만 가상머신을 배포 해야 하는 경우가 되면 이미지의 사이즈가 너무 커서 배포하기 부담스러워 진다.

위와 같은 경우에 효율적인 배포를 위한 동적 할당 디스크의 이미지 사이즈를 줄이는 방법을 소개 한다.

vboxmanage modifymedium --compact 명령을 이용하여 VDI 이미지 사이즈를 줄일 수 있다. --compact 옵션에 대한 설명은 다으과 같다.

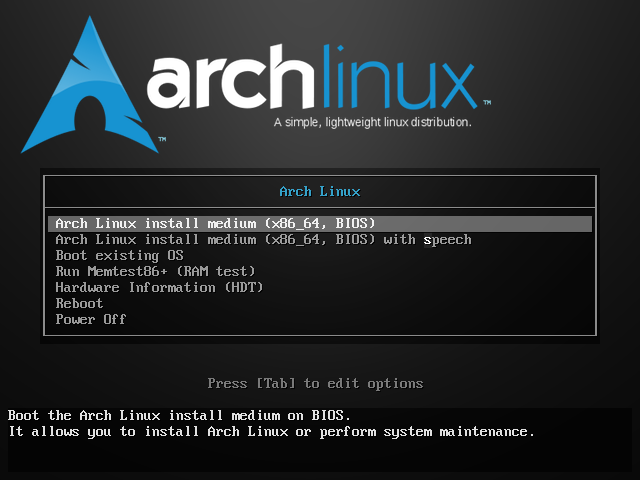
Arch Linix Installation Guide

Arch Linix Installation Guide

Arch Linix Installation Guide

현재 가지고 있는 시스템 위주로 설명한다.

부트 디스크 만들기

ISO 파일을 다운로드 한다. 다운로드 후 필요한 경우 gpg 명령으로 파일을 검증한다.

gpg --keyserver-options auto-key-retrieve --verify archlinux-2020.11.01-x86_64.iso.sig

아래와 같이 Can't check signature: No public key 에러가 발생하면

gpg --keyserver-options auto-key-retrieve --verify archlinux-2020.11.01-x86_64.iso.sig
gpg: assuming signed data in 'archlinux-2020.11.01-x86_64.iso'
gpg: Signature made Sun 01 Nov 2020 03:42:16 PM KST
gpg:                using RSA key 4AA4767BBC9C4B1D18AE28B77F2D434B9741E8AC
gpg: Can't check signature: No public key

아래와 같이 키서버를 지정해 준다.

gpg --keyserver-options auto-key-retrieve --keyserver=hkp://pool.sks-keyservers.net --verify archlinux-2020.11.01-x86_64.iso.sig
git fetch all branches and push it to another remote

git fetch all branches and push it to another remote

Fix GPG Error on Ubuntu

$ sudo apt update
...
W: An error occurred during the signature verification. The repository is not updated and the previous index files will be used. GPG error: https://packages.gitlab.com/gitlab/gitlab-ee/ubuntu bionic InRelease: The following signatures couldn't be verified because the public key is not available: NO_PUBKEY 3F01618A51312F3F
W: An error occurred during the signature verification. The repository is not updated and the previous index files will be used. GPG error: https://packages.gitlab.com/runner/gitlab-runner/ubuntu bionic InRelease: The following signatures couldn't be verified because the public key is not available: NO_PUBKEY 3F01618A51312F3F
W: Failed to fetch https://packages.gitlab.com/gitlab/gitlab-ee/ubuntu/dists/bionic/InRelease  The following signatures couldn't be verified because the public key is not available: NO_PUBKEY 3F01618A51312F3F
W: Failed to fetch https://packages.gitlab.com/runner/gitlab-runner/ubuntu/dists/bionic/InRelease  The following signatures couldn't be verified because the public key is not available: NO_PUBKEY 3F01618A51312F3F
W: Some index files failed to download. They have been ignored, or old ones used instead.
euikook@argentum:/etc/apt/sources.list.d$ sudo apt-key adv --keyserver keyserver.ubuntu.com --recv-keys 3F01618A51312F3F
Executing: /tmp/apt-key-gpghome.SpBMyBEzT0/gpg.1.sh --keyserver keyserver.ubuntu.com --recv-keys 3F01618A51312F3F
Python3 ad default python interpreter on ubuntu

Python3 ad default python interpreter on ubuntu

Python 기본 인터프리터 설정 하기

sudo update-alternatives --install /usr/bin/pip pip /usr/bin/pip3 10
sudo update-alternatives --install /usr/bin/python python /usr/bin/python3 10

sudo update-alternatives --config pip
sudo update-alternatives --config python
Building Docker Image for Cross Platform(ARM64, ARM)

Building Docker Image for Cross Platform(ARM64, ARM)

Building Docker Image for Cross Platform

arm64 머신과 x86 머신에서 동작해야 하는 프로젝트를 진행하게 되었다. 동일한 소스 트리를 유지하지 위해 하나의 아키텍처로 작업하는 경우 보다 더 많은 노력이 팔요하지만 프로젝트 진행 중 가장 귀찮(짜증나는)은 작업은 테스트를 위해 arm64과 x86 머신에서 이미지를 따로 빌드 해야 하는 것이었다.

개발 서버(PC)에서 ARM 이미지를 빌드 하는 방법을 찾던 중 qemu의 arm emulation 기능을 이용하여 x86 머신에서 arm용 Docker 이미지를 Cross Build 하는 방법을 찾아 공유한다.

Install Docker

sudo apt update
sudo apt dist-upgrade
curl -fsSL test.docker.com -o get-docker.sh && sh get-docker.sh

And add current user to docker group

sudo usermode -aG docker $USER
HOWTO install LDAP Server

HOWTO install LDAP Server

HOWTO install LDAP Server

본 포스트는 OpenLDAP을 사용하고자 하는 분들에게 도움을 주고자 작성 되었습니다.

Prerequisite

패키지 리스트를 최신으로 업데이트한다.

sudo apt-get update
Insync 3.x auto start with xvfb and systemctl

Insync 3.x auto start with xvfb and systemctl

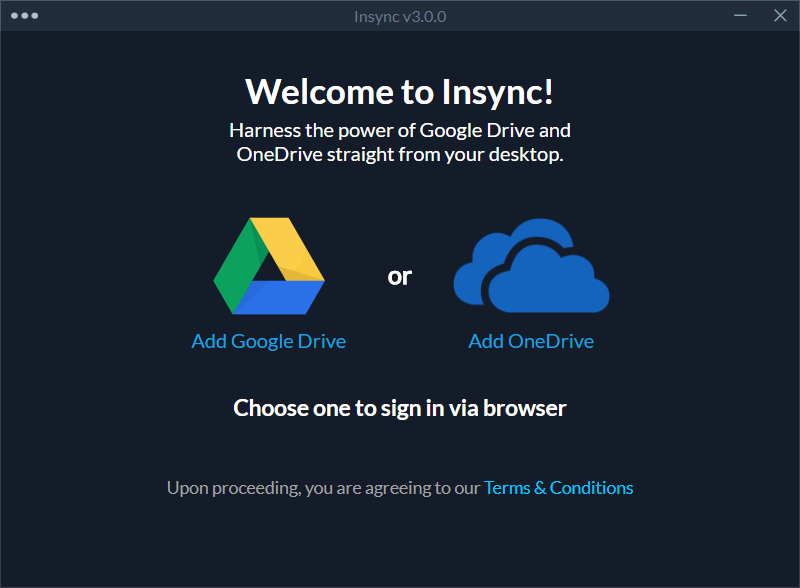
이 글에서는 Google Drive 와 One Drive의 third-party 동기화 유틸인 Insync의 headless 버전을 설치 하고 자동 실행 하는 방법에 대하여 알아본다.

Insync: Google Drive Syncing Application for Linux

Insync: 리눅스를 위한 Google Drive 동기화 어플리케이션

Insync가 3.x 버전으로 판올림 되면서 headless 버전이 없어 졌기 때문에 Gnome등의 UI로 로그인 하여야 Insyc를 설행 할 수 있다.

하지만 서버의 경우 자동 로그인을 실행하면 보안 상의 문제가 있으므로 자동 로그인 설정을 할 수 없다.

이문제를 해결 하기 위하여 xvfb와 systemctl 을 이용하여 Insync UI 버전을 자동 실행하는 방법에 다여 알아본다.

3.x 버전의 Headless 버전이 릴리즈 되었다. 이를 이용한 자동 실행 방법은 다음 Insync 3.x auto start with systemctl를 참고한다.

Desktop 버전 라이센스로 같이 사용할 수 있을 줄 알았는데. 서버용 라이센스를 별도로 구매 해야 한다. WTF 그것도 시작 가격이 일년 39.99 달러, 거기다 나처럼 Google Workspace를 사용하여 gmail.com 이 아닌 커스텀 도메인 을 사용하는 사람은 일년에 159.99 달러다. 이글을 참고 하여 Insync Desktop 버젼을 자동실행 하는 방법을 사용하자.

Prerequisites

  • insync
  • xvfb

Insync 설치

Insync의 설치 방법은 Insync - Linux에서 Google Drive Desktop Client 사용하기를 참고 한다.

xvfb 설치

sudo apt install xvfb